Horde supports the LAMP / LEMP stack and can be a great way to bring all your external emails like Google, Yahoo, and other SMTP inboxes onto your server. Horde also comes with decent performance, simple installation and upgrade with support for IMAP and SMTP protocols (SSL, STARTTLS), sieve scripts support, integration for popular services, and many more via plugins. For more about Horde, please check out its homepage. Some highlights of Horde:
IMAP and POP3 webmail client 3-pane and 3-column-layouts Message filtering Message searching HTML message composition with WYSIWIG editor Spell checking Built in attachment viewers Encrypting and signing of messages (S/MIME and PGP) Quota support Keyboard navigation Full character set support for folders names and email messages Conversation view of all messages in a thread Downloading of message attachments in a ZIP file Flexible, individual alias addresses IMAP folder subscriptions Shared IMAP folder
When you’re ready to get Horde install on Ubuntu, follow the steps below:
Install Apache2 HTTP Server
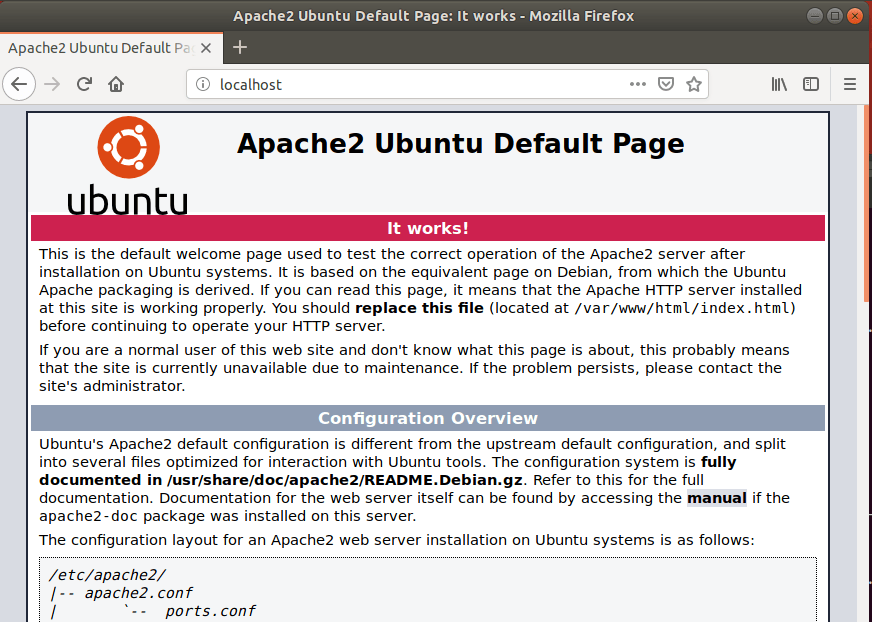
Apache2 HTTP Server is the most popular web server in use. so install it, since Horde needs it. To install Apache2 HTTP on the Ubuntu server, run the commands below. After installing Apache2, the commands below can be used to stop, start and enable the Apache2 service to always start up with the server boots. To test whether Apache2 is installed, open your browser and browse to the server hostname or IP address. When you see that, then Apache2 is working as expected.
Install MariaDB Database Server
MariaDB database server is a great place to start when looking at open-source database servers to use with Horde. To install MariaDB run the commands below. After installing MariaDB, the commands below can be used to stop, start and enable the MariaDB service to always start up when the server boots. Run these on Ubuntu 16.04 LTS Run these on Ubuntu 17.10 and 18.04 LTS After that, run the commands below to secure the MariaDB server by creating a root password and disallowing remote root access. When prompted, answer the questions below by following the guide.
Enter current password for root (enter for none): Just press the Enter Set root password? [Y/n]: Y New password: Enter password Re-enter new password: Repeat password Remove anonymous users? [Y/n]: Y Disallow root login remotely? [Y/n]: Y Remove test database and access to it? [Y/n]: Y Reload privilege tables now? [Y/n]: Y
Restart MariaDB server To test if MariaDB is installed, type the commands below to logon into the MariaDB server Then type the password you created above to sign on. if successful, you should see MariaDB welcome message
Install PHP 7.2 and Related Modules
PHP 7.2 may not be available in Ubuntu default repositories. to install it, you will have to get it from third-party repositories. Run the commands below to add the below third party repository to upgrade to PHP 7.2 Then update and upgrade to PHP 7.2 Next, run the commands below to install PHP 7.2 and related modules. After installing PHP 7.2, run the commands below to open the PHP default config file for Apache2. Then make the changes on the following lines below in the file and save. The value below is a great setting to apply in your environment. After making the change above, save the file and close it. After installing PHP and related modules, all you have to do is restart Apache2 to reload PHP configurations. To restart Apache2, run the commands below To test PHP 7.2 settings with Apache2, create a phpinfo.php file in the Apache2 root directory by running the commands below Then type the content below and save the file. Save the file. then browse to your server hostname followed by /phpinfo.php You should see the PHP default test page.
Create Horde Database
Now that you’ve installed all the packages that are required for Horde to function, continue below to start configuring the servers. First, run the commands below to create a blank Horde database. To log on to the MariaDB database server, run the commands below. Then create a database called horde Create a database user called hordeuser with a new password Then grant the user full access to the database. Finally, save your changes and exit.
Download and Configure Horde
After installing the packages above, run the commands below to register the Horde pear channel. Next, set the Horde directory by running the commands below: When prompted, enter /var/www/horde as its filesystem directory: After that, run the commands below to install the Horde Groupware Webmail edition. After a while, Horde should download all required packages into its home directory. When done, run the commands below to begin its installation. Configure your settings as below: Horde should be installed. now continue below to configure. First, create the Horde temp directory and Apache2 configurations file. Then copy and paste the content below into the file and save it. Setup Horde password tool to allow users to change/reset passwords Next, enable and restart Apache2. Log in and begin configuring Horde Enjoy! Congratulations! You have successfully installed and configured Horde on Ubuntu 16.04 | 18.04 with Apache2 and PHP 7.2. You may also like the post below: